


- Description
- Specifications
Product Overview
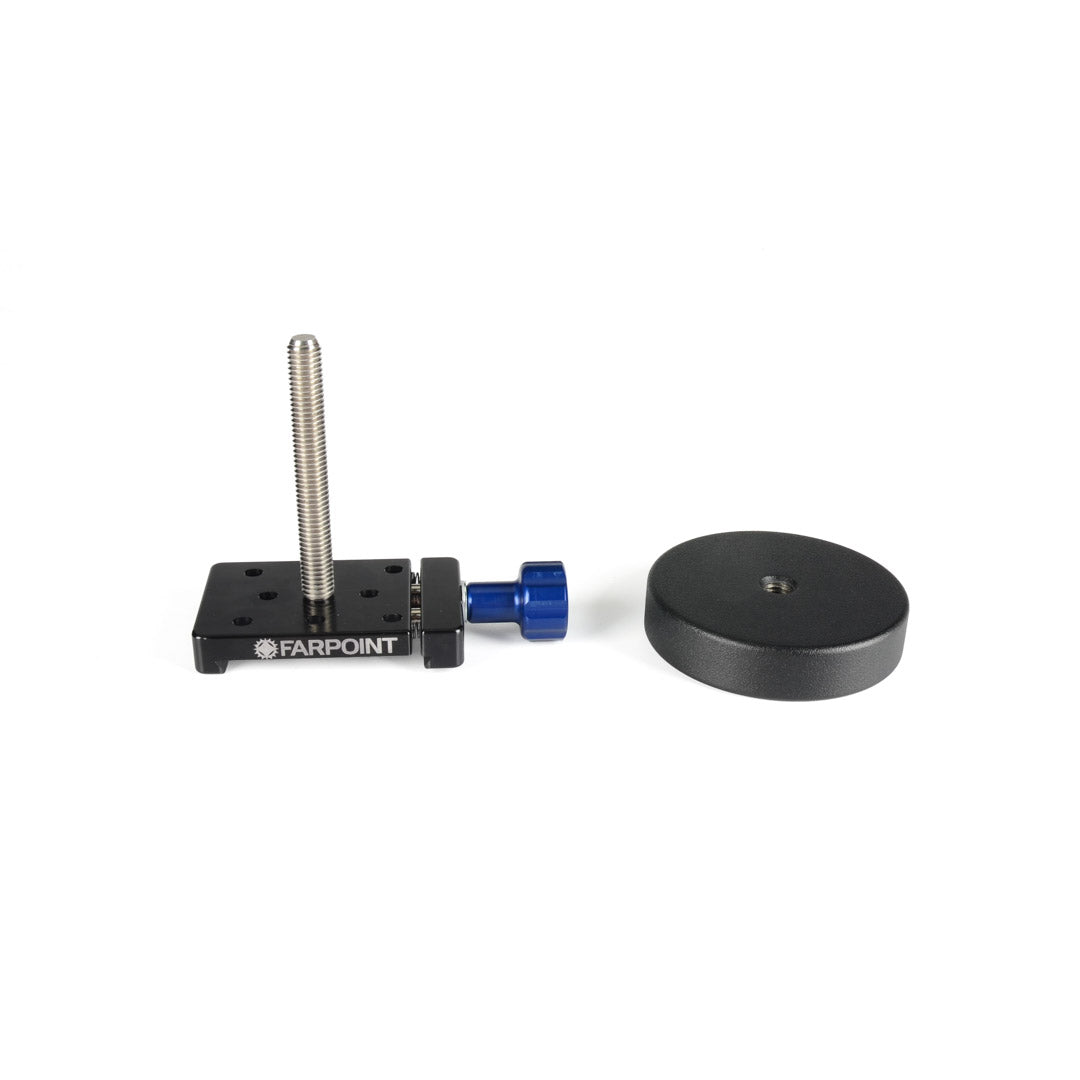
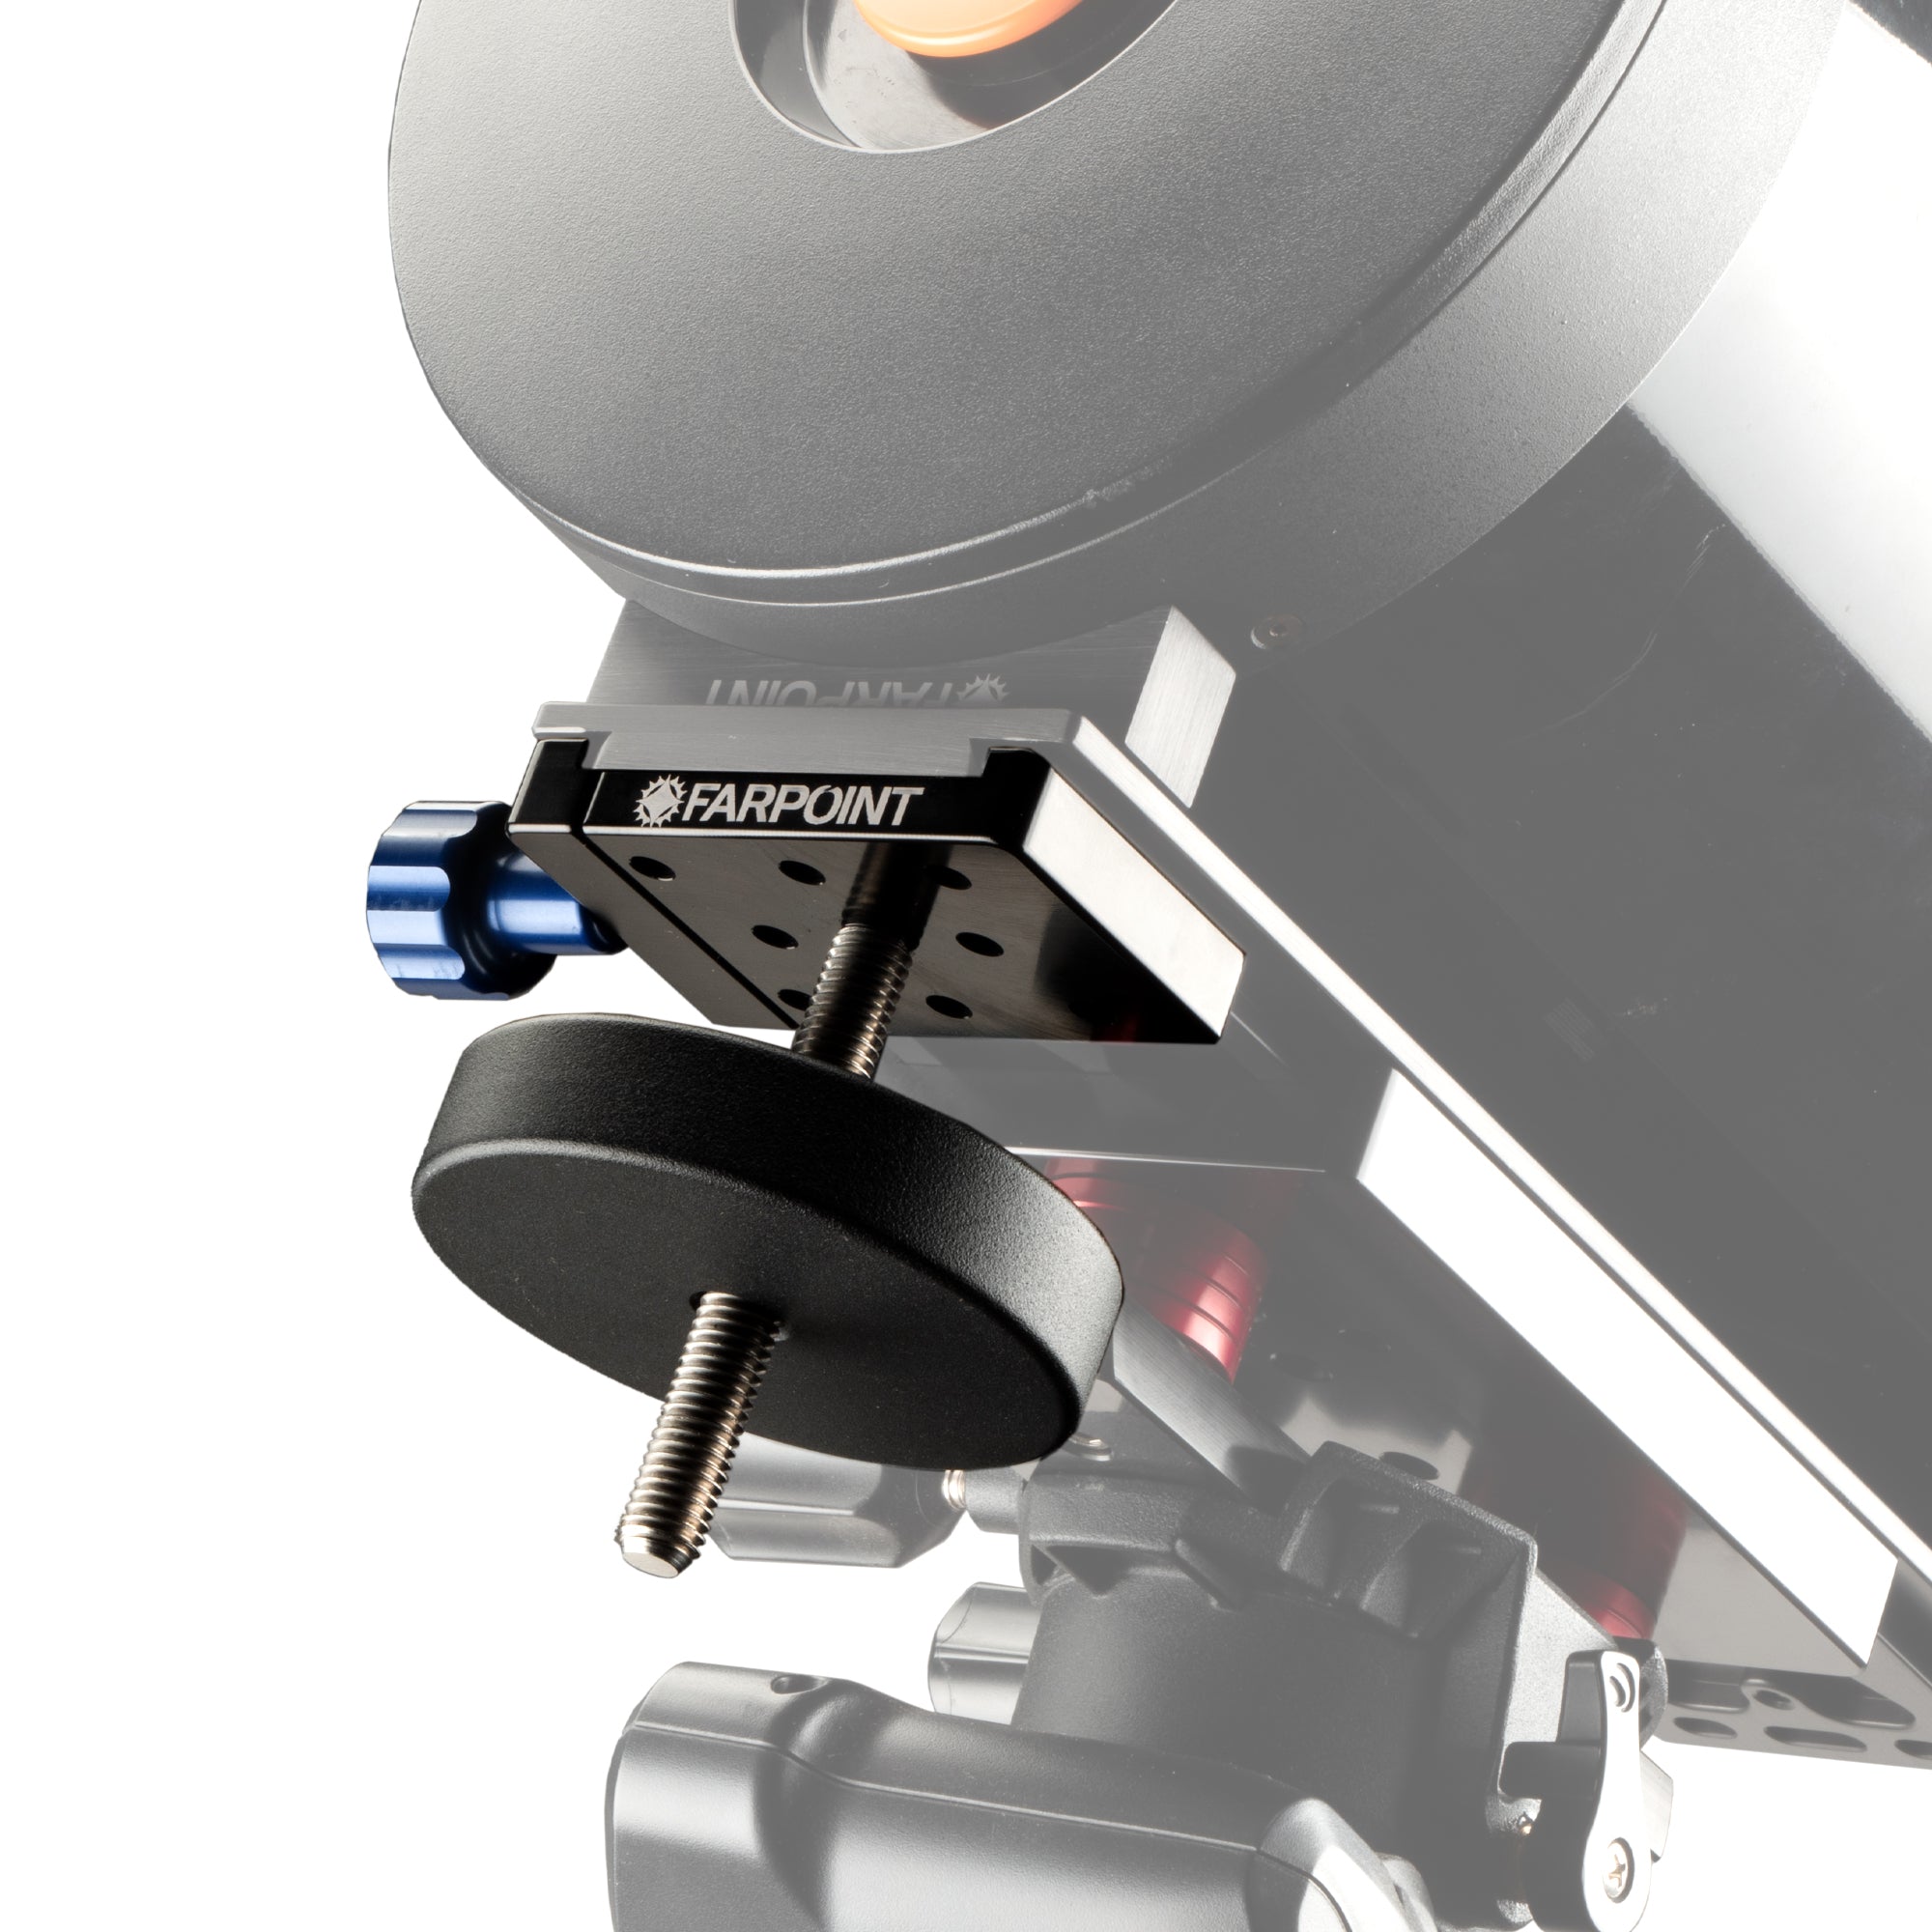
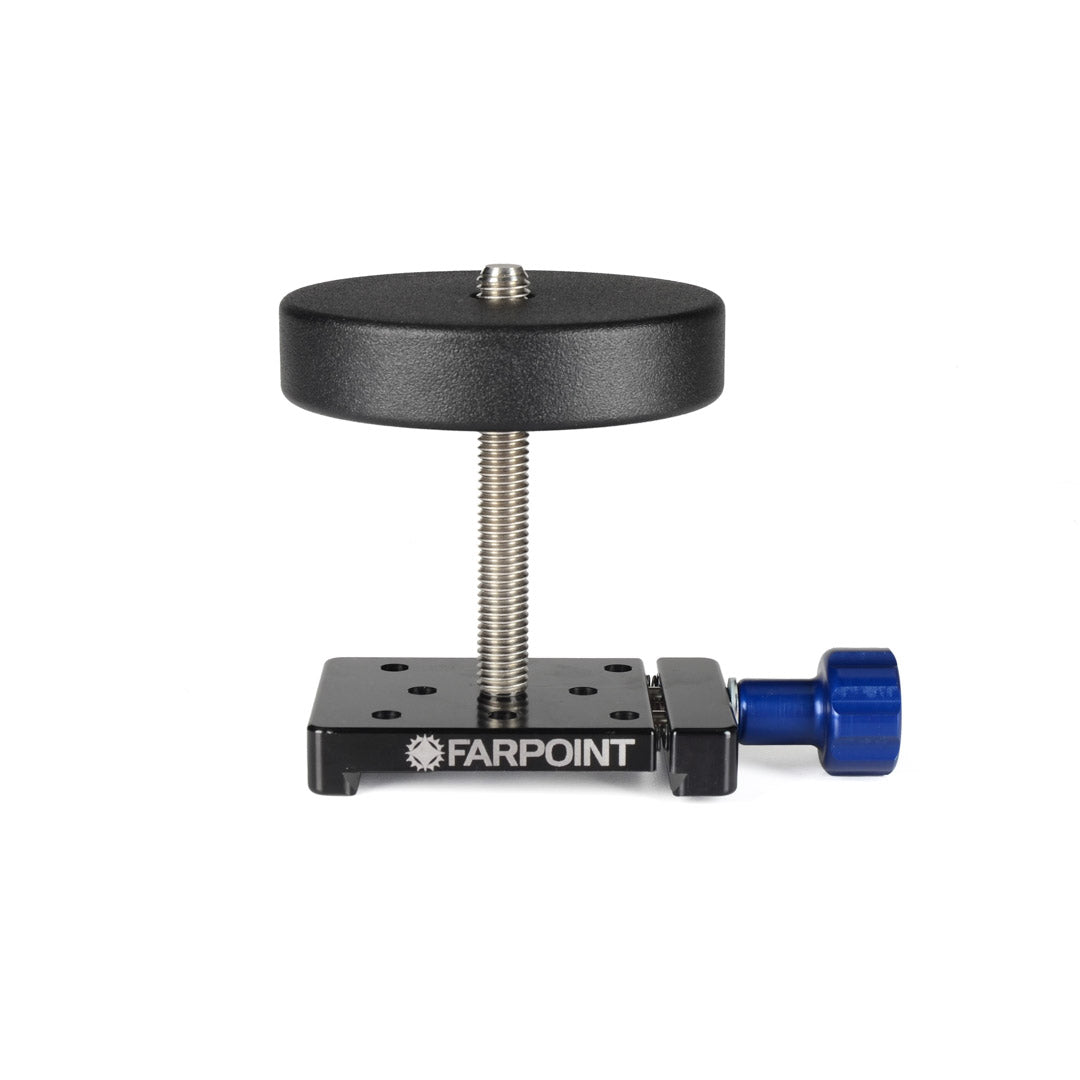
The Farpoint Dovetail Weight System 1 puts counterweight where the imbalance actually is: on the dovetail bar itself, rather than further out on the mount's counterweight shaft. It consists of one 3 lb counterweight of 4″ diameter, the Farpoint FDA quick-release saddle, and a 3.5″ mounting screw. The saddle clamps onto a D-size (Losmandy-style) dovetail bar and slides to the balance point, and the whole assembly comes on and off without tools. The kit ships at a published 4.0 lb and is made in the USA.
Who It's For
This is a good match if you run a D-size (Losmandy-style) dovetail bar and a single camera, finder or rear-mounted accessory has pulled the tube out of balance front-to-back, and you would rather add 3 lb on the bar than reshuffle the mount's main shaft.
Key Features & Design
- 3 lb of ballast: One 4″ diameter counterweight, with extra 3 lb weights available to stack as the payload grows.
- FDA quick-release saddle: Clamps anywhere along the bar and comes on and off tool-free.
- Balance on the bar: Ballast is added at the point of the offset rather than on the mount's counterweight shaft.
- 3.5″ mounting screw included: The screw that joins the weight to the saddle ships with the kit.
- Made in the USA: Finished in black powder coat or bright zinc, depending on the production run.
- Published weight: 4.0 lb for the complete kit.
Mechanical Design
The FDA saddle is a D-size clamp: it grips the flared sides of a Losmandy-profile bar and locks with a hand knob, so it can be positioned anywhere along the bar's length and repositioned as the imaging train changes. The 3 lb weight threads onto the saddle with the 3.5″ screw, which leaves the stack open at the end for additional weights. Because the clamp holds on the dovetail rather than on the tube, nothing is drilled, tapped or clamped onto the optical tube itself.
Recommended Uses
- Offsetting a single camera or autoguider hung off the back of an SCT or refractor.
- Restoring front-to-back balance after adding a finder, a focuser motor or a rear-cell accessory.
- Rebalancing in the field when gear is swapped between targets.
- Trimming balance on a mount whose main counterweight shaft is already near the end of its travel.
Compatibility and Accessory Notes
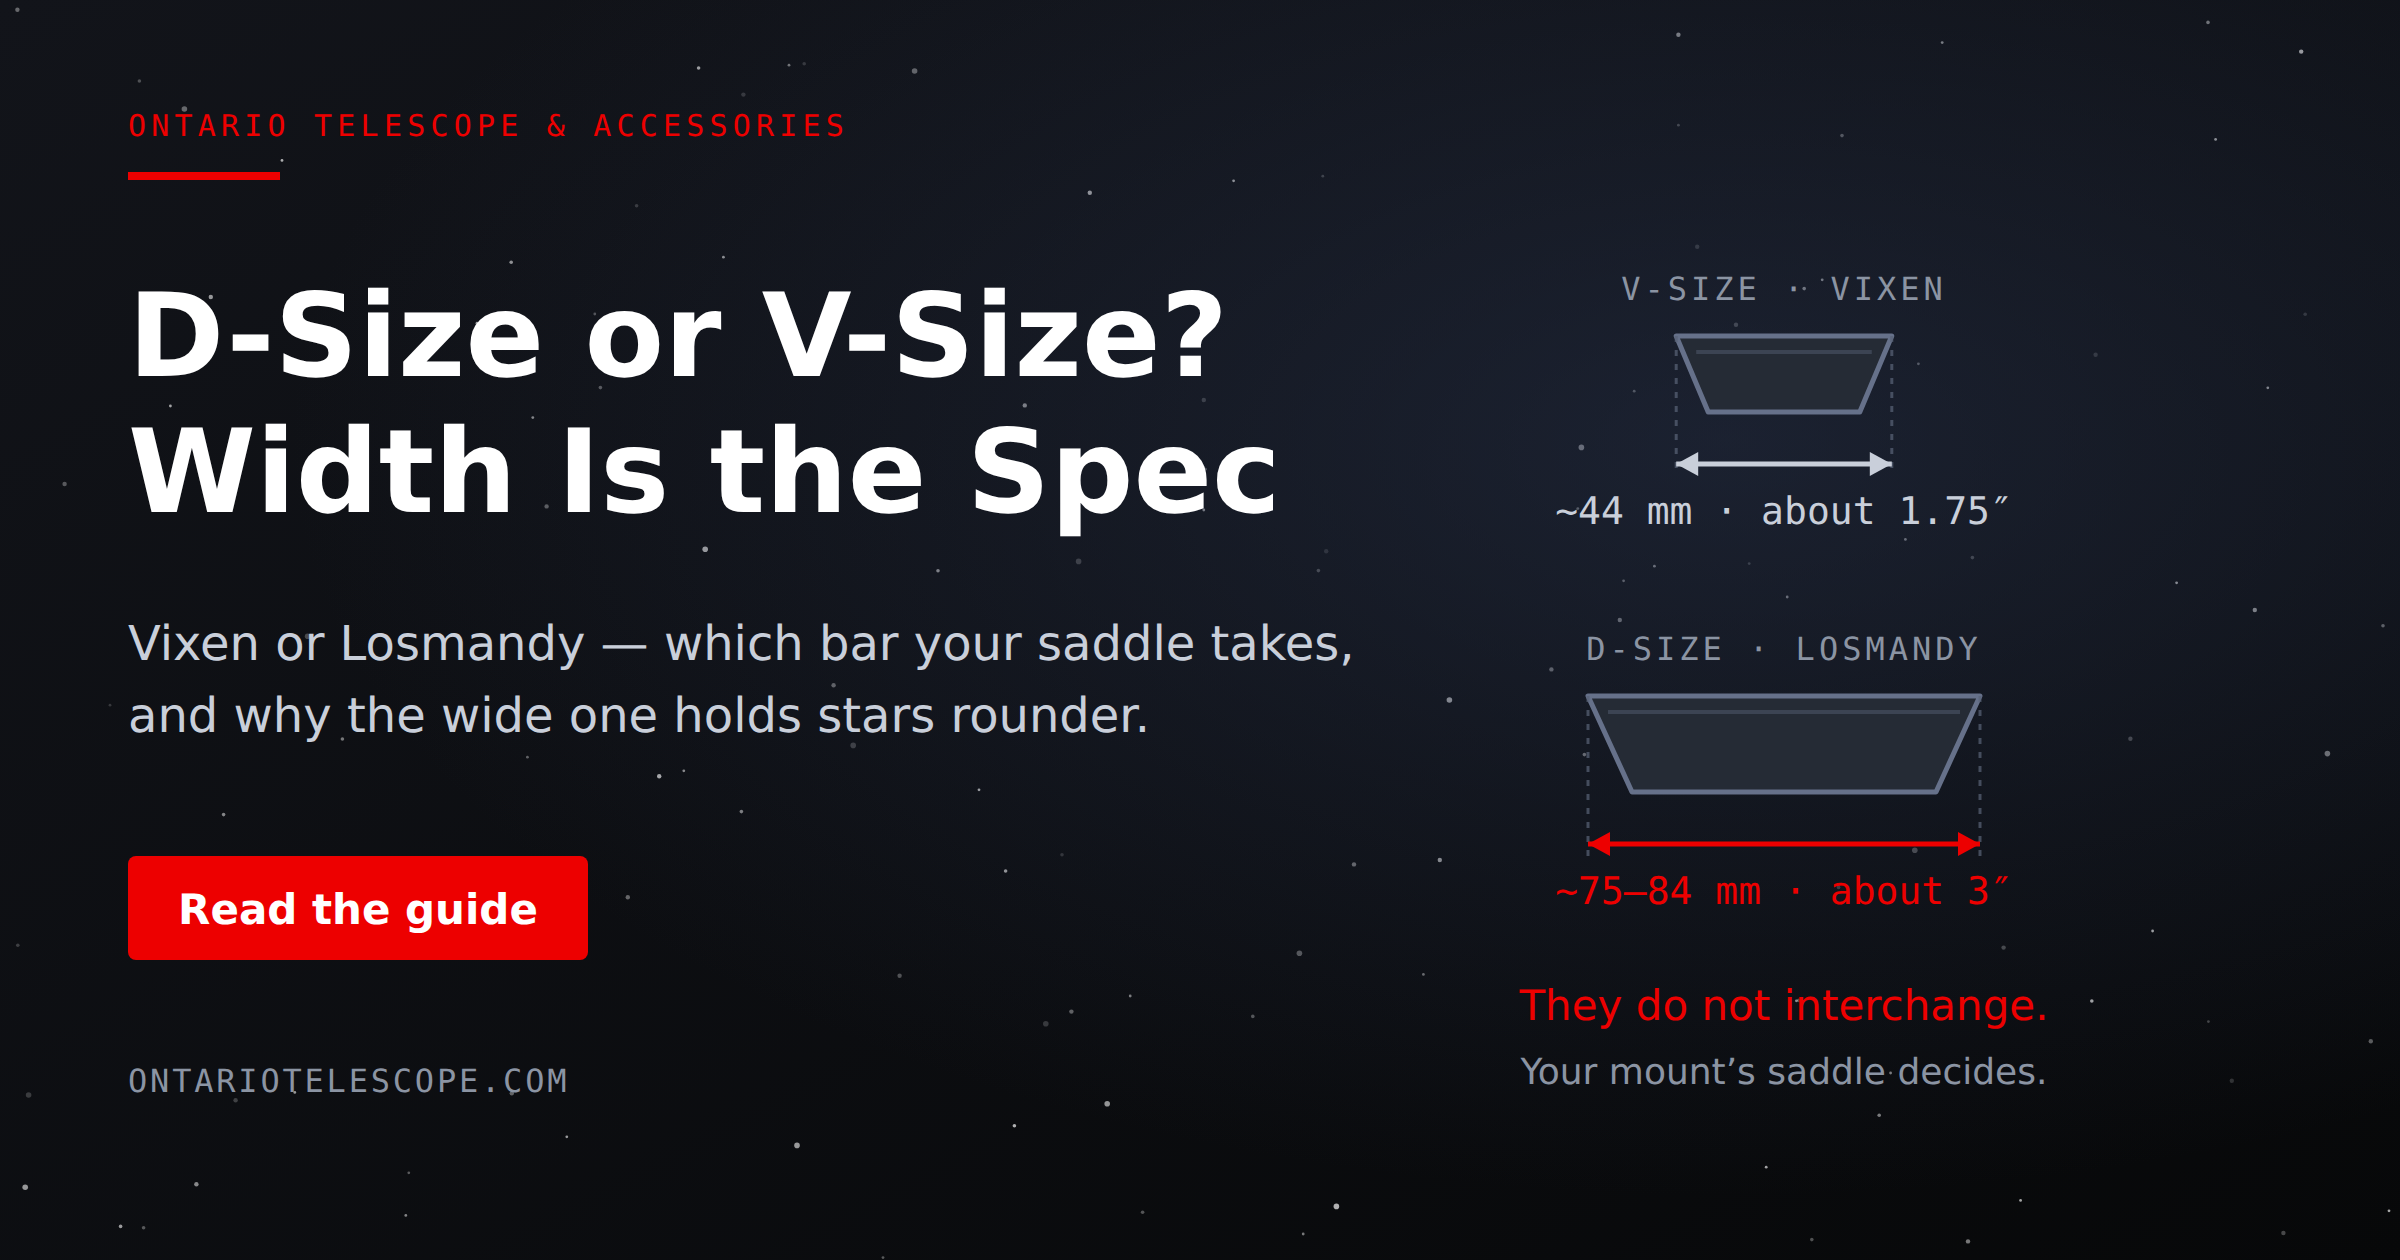
The FDA saddle is a D-size clamp, so it fits Losmandy-style dovetail bars and not the narrower V-size (Vixen) profile. The dovetail bar itself is separate; Farpoint lists universal D-size bars as a standalone item. The system expands with the Farpoint Extra 3 Pound Counterweight, which is the same 3 lb, 4″ weight this kit ships with. Tell us your telescope and the dovetail bar on it and we'll confirm the fit.
Good to Know Before You Order
- The dovetail plate is separate. The kit clamps onto a D-size bar you already have, or onto one bought alongside it.
- D-size profile only. V-size (Vixen) bars are narrower and take a different clamp.
- Finish varies by production run. Weights arrive in black powder coat or bright zinc; the difference is cosmetic and the weight and fit are the same either way.
- 3 lb of ballast in the box. A heavier imaging train is covered by the Weight System 2, which ships with two weights, or by adding extra 3 lb weights to this kit.
Frequently Asked Questions
Is it difficult to install?
The saddle clamps onto the dovetail bar by hand and the weight threads on with the included 3.5″ screw. No tools are needed to put it on, take it off or slide it along the bar.
Is the dovetail bar included?
No. The kit is the weight, the FDA saddle and the 3.5″ screw. It clamps onto a D-size (Losmandy-style) bar, which is sold separately.
Will it fit a Vixen-style dovetail?
The FDA saddle is cut for the D-size (Losmandy) profile. The narrower V-size Vixen bar is a different standard.
System 1 or System 2?
System 1 ships with one 3 lb weight and System 2 with two, for 6 lb. Either one accepts additional 3 lb weights later, so the difference is what is in the box on day one.
Bottom Line
In short: 3 lb of ballast on a 4″ weight, a tool-free FDA quick-release saddle and a 3.5″ screw, made in the USA, for balancing a D-size Losmandy rig at the point where the weight actually sits.
| Manufacturer | Farpoint Astronomical Research |
|---|---|
| Part code | FDWS1 |
| Includes | One 3 lb counterweight, FDA quick-release saddle, 3.5" mounting screw |
| Added ballast | 3 lb, expandable with extra 3 lb weights |
| Weight diameter | 4" |
| Mounting screw | 3.5" |
| Dovetail standard | D-size (Losmandy-style) |
| Fits | D-size (Losmandy-style) dovetail bars |
| Mounting | FDA quick-release saddle, tool-free on and off, clamps anywhere along the bar |
| Dovetail plate | Not included; universal D-size dovetail bars sold separately |
| Finish | Black powder coat or bright zinc (shiny silver), varies by production run |
| Weight | 4.0 lb |
| Country of origin | United States |
| UPC | 791512976395 |
You may also like
Recently viewed
Recent Blog Posts
View all
Your Guide Graph Is Lying to You
Read More
D-Size vs V-Size: A Complete Guide to Telescope Dovetail Systems
Read More
What Is Back Focus in Astrophotography? Telescope Reducers, Flatteners, and Spacing Explained
Read More