
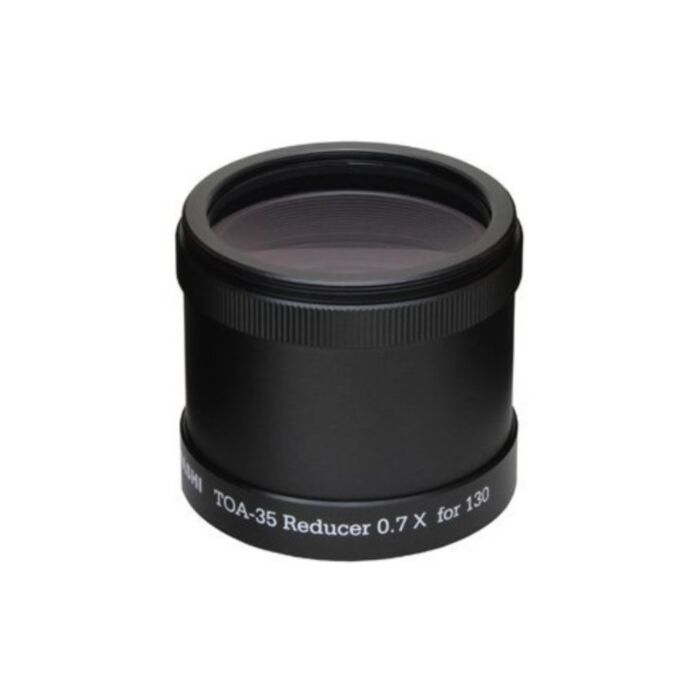

- Description
- Specifications
- Downloads
Product Overview
The TOA-35 Reducer 130 Set pairs Takahashi's 0.7x TOA-35 reducer with a CA Ring 130 sized for the TOA-130NS and TOA-130NFB, cutting the telescope's native 1000mm f/7.7 down to 698mm f/5.4. The reducer is a 4-element, 3-group ED glass design shared across the whole TOA-35 line — what changes between kits is which CA ring is bundled to match the telescope it's going on.
Who It's For
This kit suits TOA-130NS and TOA-130NFB owners who want a materially faster focal ratio for deep-sky imaging without leaving the TOA series' ED apochromat optics. At f/5.4 it cuts exposure times substantially versus the native f/7.7 while holding a flat Φ44mm image circle.
Key Features & Design
- 4 elements in 3 groups, ED glass: the same optical design used across every TOA-35 reducer kit.
- 0.7x reduction: takes the TOA-130NS/NFB from 1000mm f/7.7 to 698mm f/5.4.
- Φ44mm corrected image circle: flat, sharp field suited to APS-C and smaller full-frame crops.
- Bundled CA Ring 130: sized specifically for the TOA-130's mount, so the kit installs as a matched system.
Optical / Mechanical Design
The reducer threads to the CA Ring 130, which is what's bundled in this specific kit — the ring is what changes between TOA-35 Reducer kits, not the reducer optic itself. Back focus is 65.5mm on the TOA-130NS/NFB. See the Takahashi Back Focus Guide for the full spacing chain.
Recommended Uses
Faster deep-sky imaging on the TOA-130NS/NFB where exposure time matters — nebulae, galaxies, and clusters that benefit from f/5.4 over the native f/7.7; general astrophotography where a shorter focal length better frames larger targets.
Compatibility and Accessory Notes
| Telescope | Resulting focal length | Resulting focal ratio | Image circle | Back focus |
|---|---|---|---|---|
| TOA-130NS / TOA-130NFB (this kit) | 698mm | f/5.4 | Φ44mm | 65.5mm |
| TOA-150B | 775mm | f/5.2 | Φ44mm | 62.5mm |
| TSA-120 | 635mm | f/5.3 | Φ44mm | 62.5mm |
This is the same 0.7x reducer optic used on the TOA-150B and TSA-120, but bundled here with the CA Ring 130 sized for the TOA-130's mount. TOA-150B and TSA-120 owners use the sibling kit, the TOA-35 0.7x Reducer and Camera Ring (TOA-150, TSA-102/120), which bundles the identical reducer with the larger CA Ring 150 instead — the two kits are not interchangeable between telescopes even though the optic inside them is the same.
Good to Know Before You Order
Sold as a matched kit: the CA Ring 130 is bundled with this reducer, so there's no separate ring to source for the TOA-130.
Frequently Asked Questions
Is it difficult to set up?
No — the reducer threads to the included CA Ring 130, which is sized to install directly on the TOA-130NS/NFB.
What is it best used for?
Deep-sky astrophotography on the TOA-130NS/NFB where the 0.7x reduction to f/5.4 shortens exposures versus native f/7.7.
Is this the same reducer as the TOA-150 kit?
The optic is identical. What differs is the bundled ring — this kit ships with CA Ring 130 for the TOA-130; the TOA-150/TSA-120 kit ships with CA Ring 150 instead.
What else do I need with it?
Your camera's own T-ring or adapter to complete the connection at the 65.5mm back focus figure.
Bottom Line
A matched TOA-35 reducer kit for the TOA-130NS/NFB, cutting the telescope to 698mm at f/5.4 across a Φ44mm image circle, with the CA Ring 130 included.
| Product type | 0.7x focal reducer kit |
|---|---|
| Compatible telescope | TOA-130NS / TOA-130NFB |
| Included accessory | CA Ring 130 |
| Optical design | 4 elements in 3 groups, ED glass |
| Reduction factor | 0.7x |
| Resulting focal length | 698mm |
| Resulting focal ratio | f/5.4 |
| Corrected image circle | Φ44mm |
| Back focus | 65.5mm |
Shopping Guide
- Takahashi English Catalog 2025 — PDF, 8.63 MB
- Takahashi Telescope Backfocus Table — PDF, 71 kB
You may also like
Recently viewed
Recent Blog Posts
View all
Your Guide Graph Is Lying to You
Read More
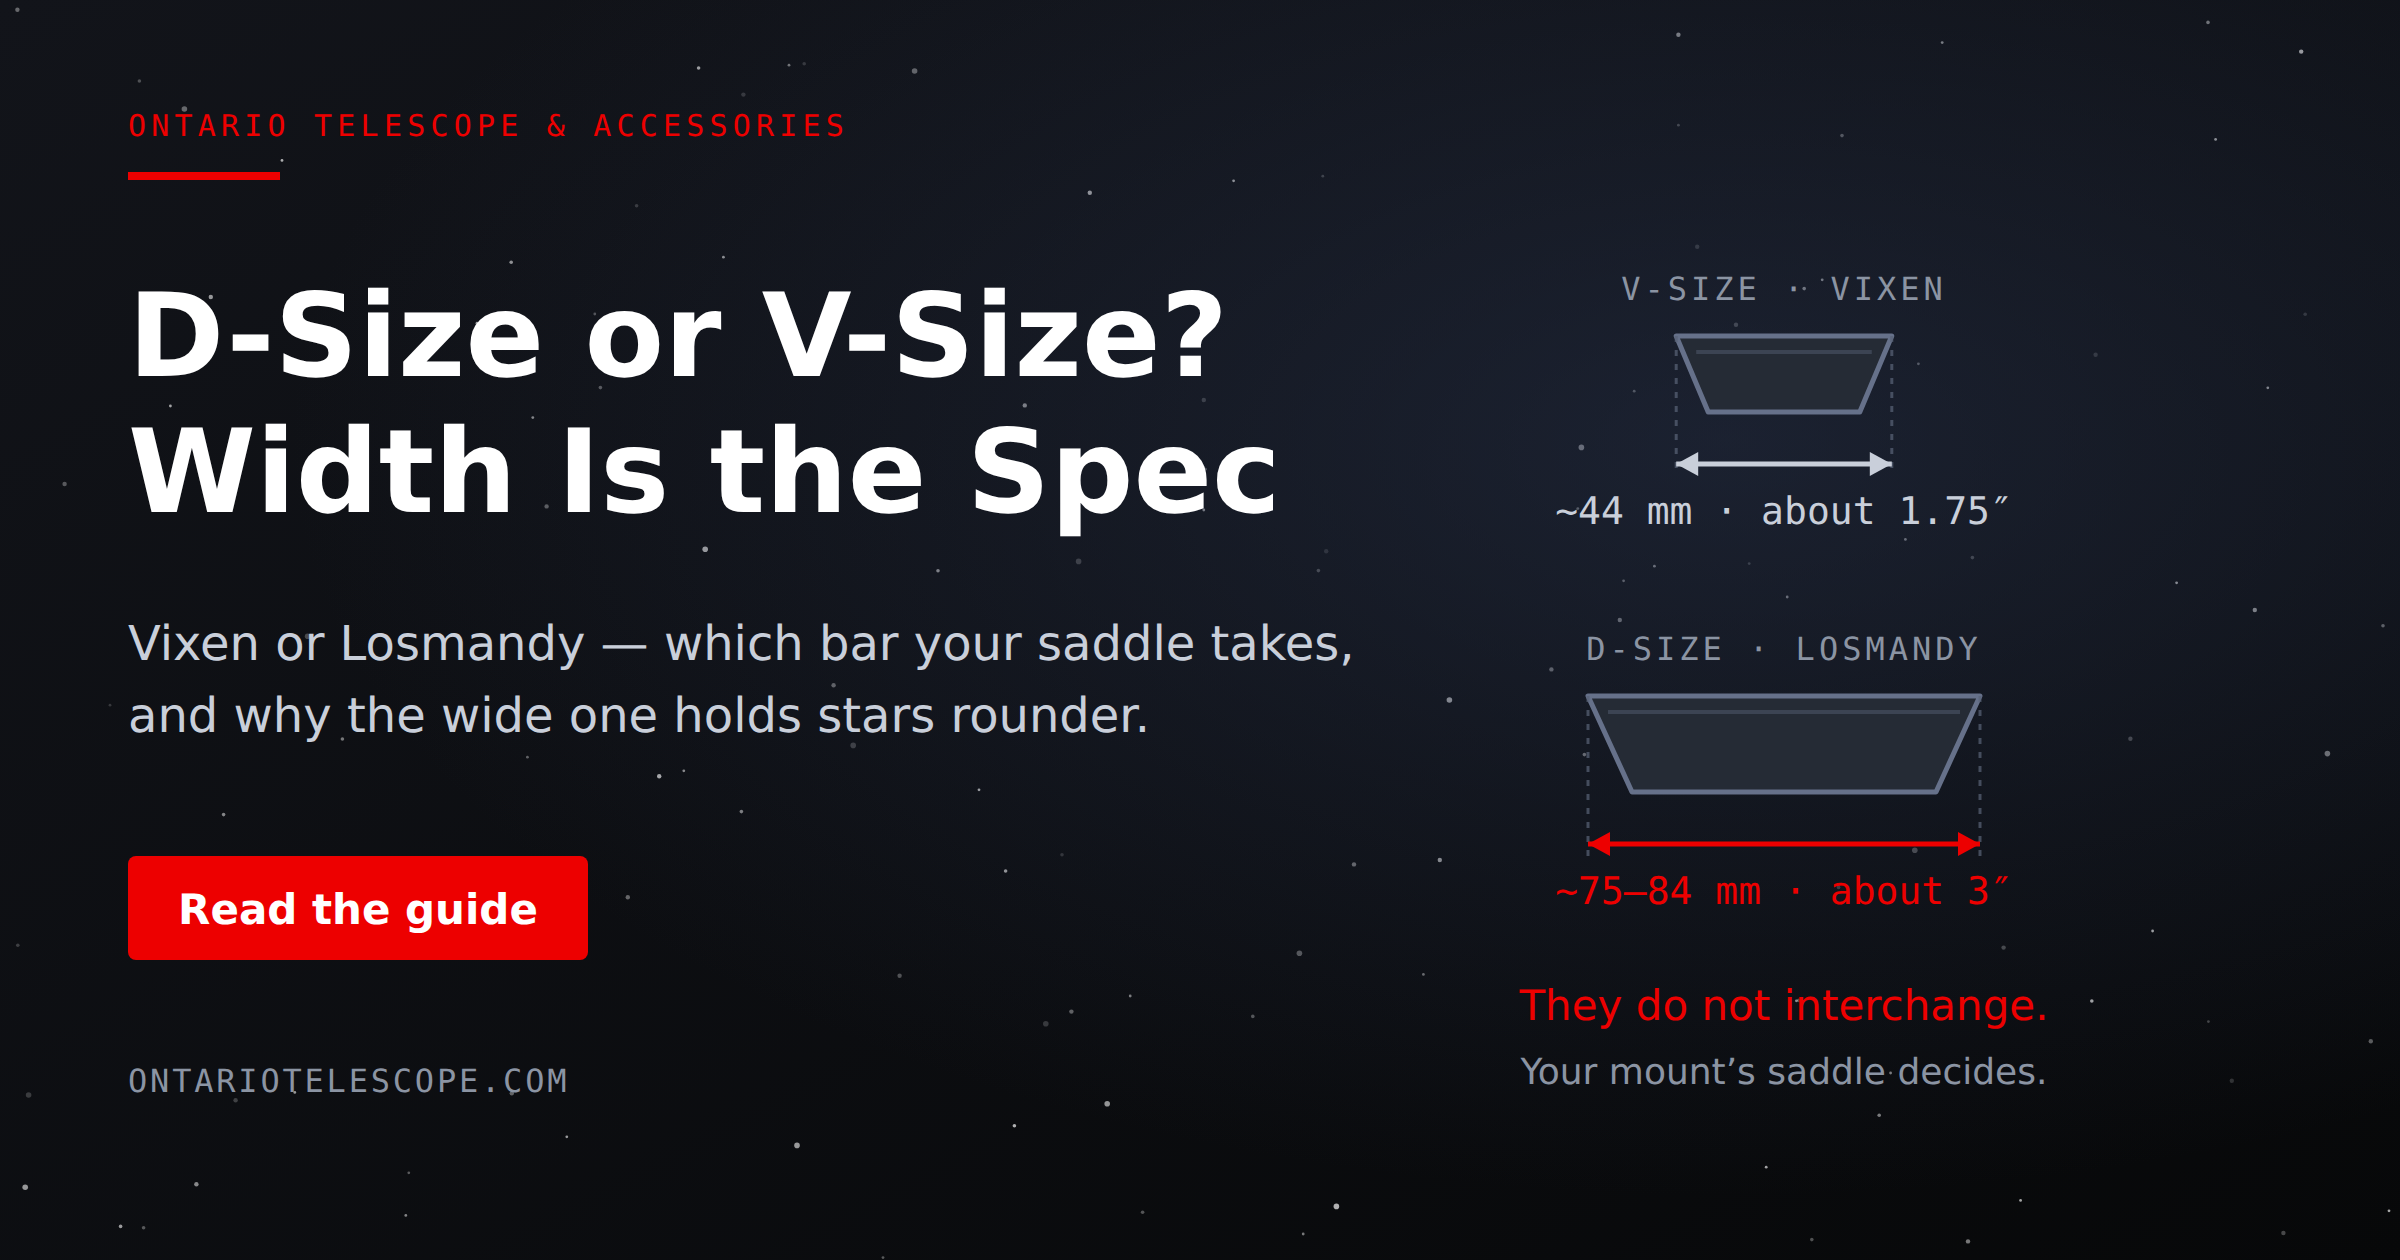
D-Size vs V-Size: A Complete Guide to Telescope Dovetail Systems
Read More
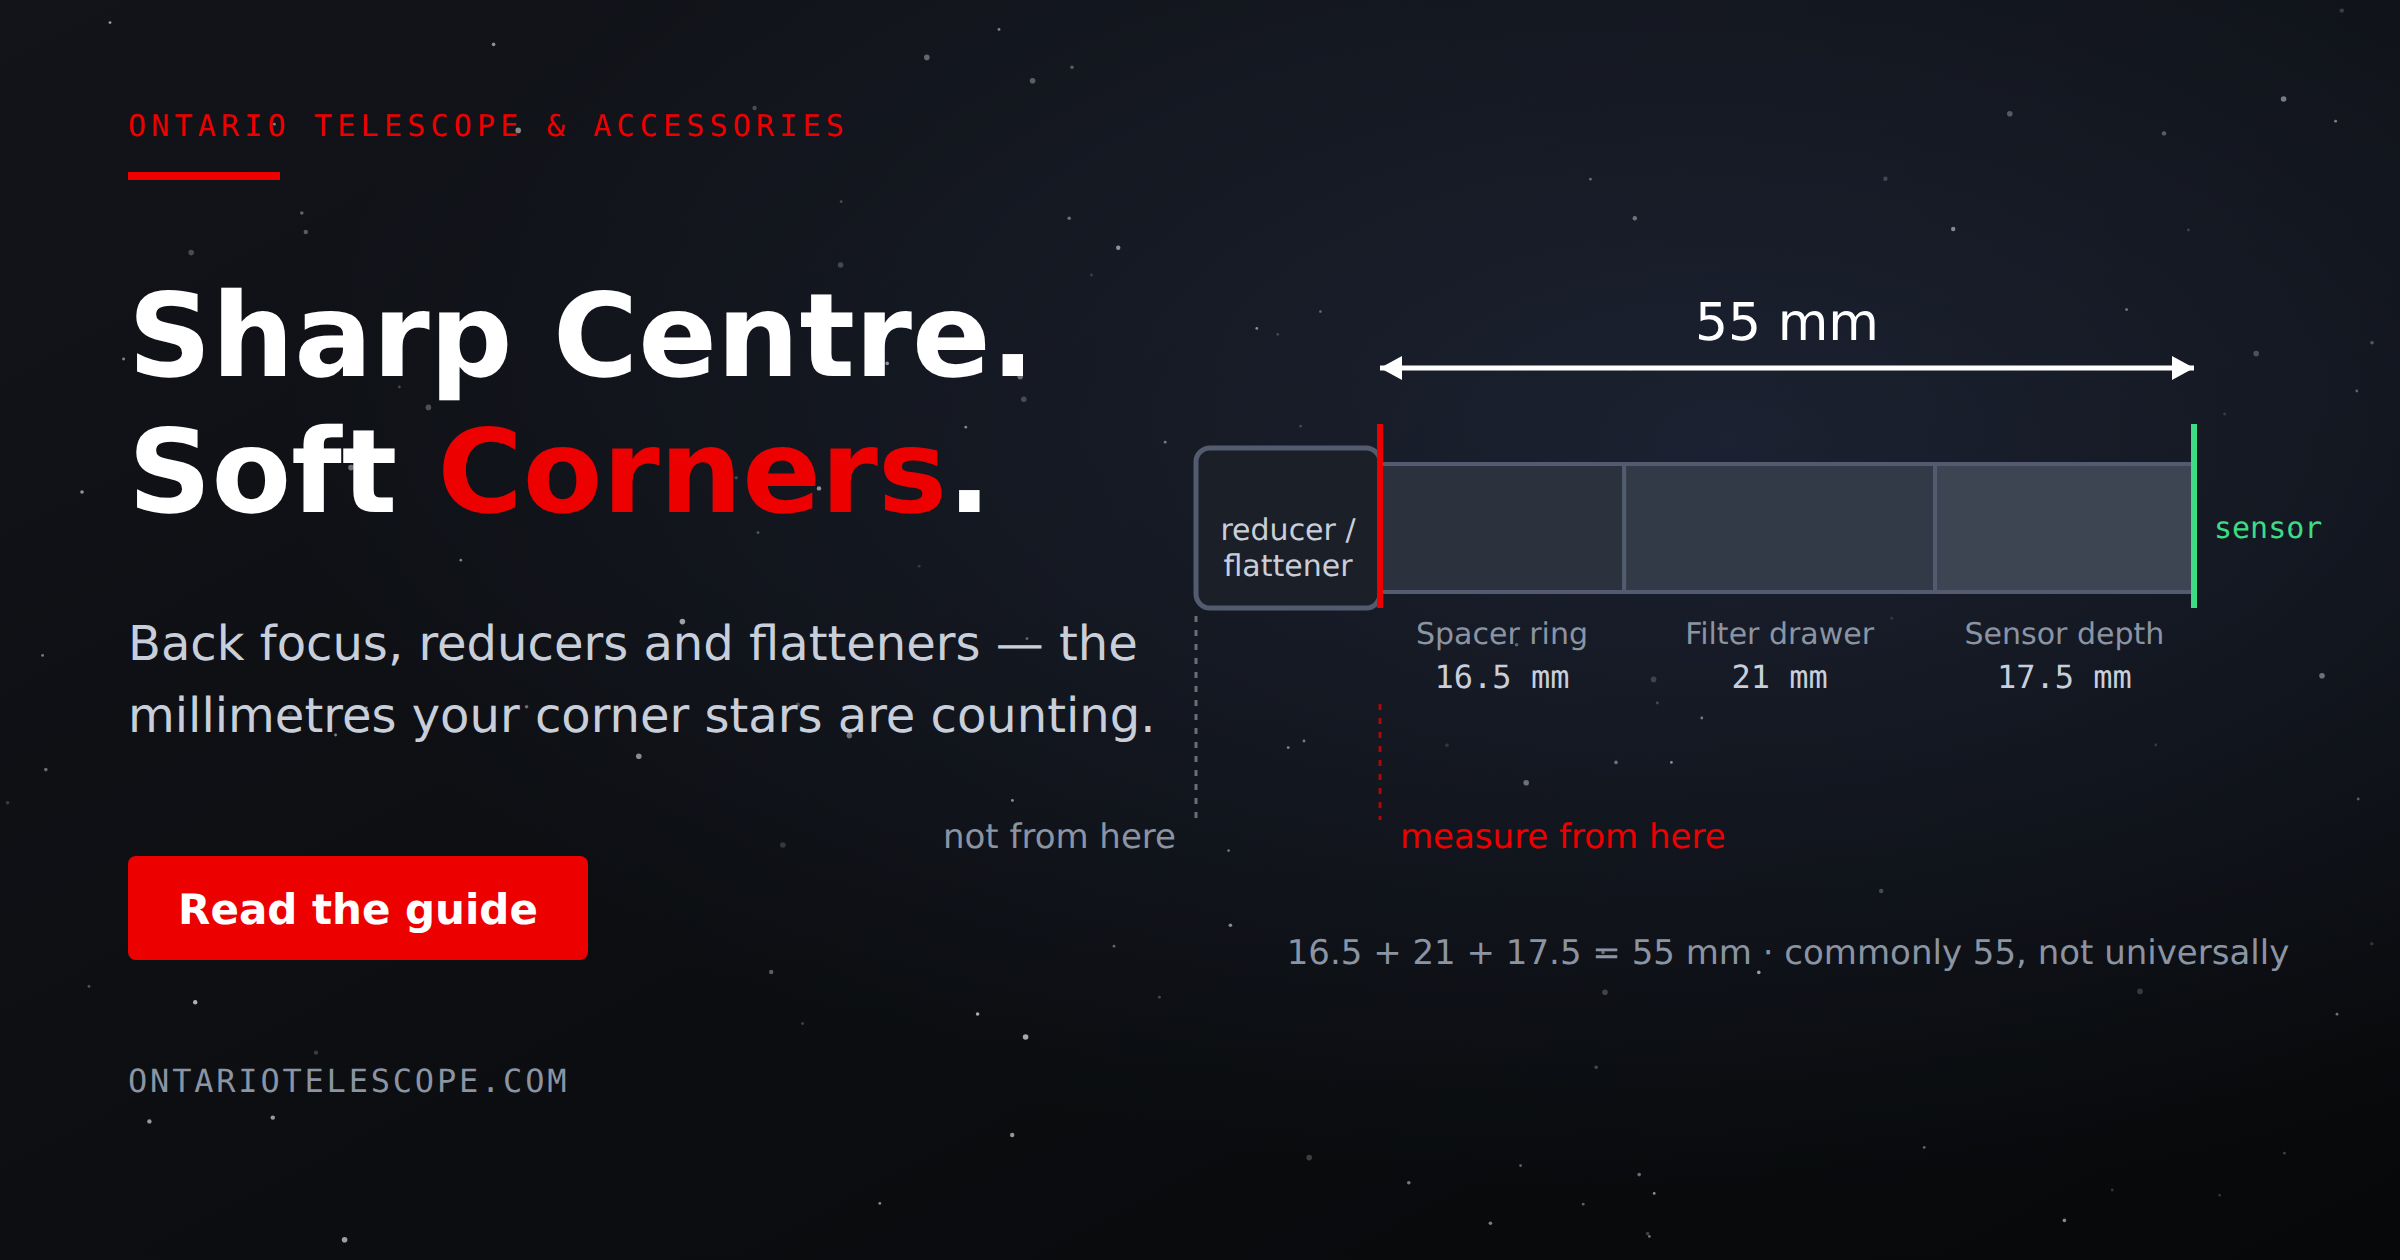
What Is Back Focus in Astrophotography? Telescope Reducers, Flatteners, and Spacing Explained
Read More