Night Scape Imaging with Sky-Watcher
Night Scape Imaging with Sky-Watcher
If you're a landscape or nature photographer who has ever pointed a camera at the night sky and wished those pinpoint stars didn't turn into little streaks during a long exposure — this is where you start. A star tracker mounts your existing DSLR or mirrorless camera and rotates it at the same speed as the night sky, letting you use longer exposures, lower ISOs, and capture far more detail in the Milky Way, nebulae, and starfields than a static tripod ever could.
Whether you're shooting wide nightscapes over a lake, a milky way arch over the mountains, or pushing in tighter with a telephoto for a close-up of the galactic core, the systems and accessories below will get you there — all while keeping the gear light enough to hike in with your existing camera bag.
From Static Tripod to Tracked Exposures: What Changes
Below are example wide-field shots at common landscape focal lengths — 18mm, 50mm, 200mm, and 350mm — comparing results on APS-C and Full Frame sensors. (Sample placeholders shown below — swap in your own field images.)
| Focal Length | APS-C Sensor | Full Frame Sensor |
|---|---|---|
|
18mm Wide Milky Way arch with foreground landscape |
|
|
|
50mm Milky Way core with surrounding star field |
|
|
|
200mm Tighter galactic core / nebula region |
|
|
|
350mm Close-up framing of a nebula or star cluster |
|
|
Note: at 200mm and beyond, tracking accuracy becomes essential — this is where a GoTo system with a built-in polar scope (like the GTi) really shows its advantage over a basic tracker.
Why Polar Alignment Matters: No More Star Trails
Every Sky-Watcher Star Adventurer system — the 2i and the GTi — tracks the sky by rotating around an axis that must be pointed at the celestial pole (near Polaris in the Northern Hemisphere). This process is called polar alignment. Once aligned, the mount rotates in sync with the Earth's rotation, so stars stay as sharp pinpoints throughout your exposure instead of streaking into trails.
Polar Aligned (Tracked)
Pinpoint stars, even on a multi-minute exposure.
Not Polar Aligned (Star Trails)
Without tracking, longer exposures cause stars to streak.
Both the Star Adventurer GTi and the Star Adventurer 2i include a built-in illuminated polar scope, making this a quick process — even for first-timers. We cover this step-by-step in the tutorial below.
1. GOTO Systems — Star Adventurer GTi
The Star Adventurer GTi takes everything that made the original Star Adventurer a favourite among nightscape and Milky Way shooters and adds full GoTo functionality. Once polar aligned, the GTi can automatically locate and track targets across the sky — useful as you progress from simple wide-field shots into more deliberate framing of specific regions like the Milky Way core, Andromeda, or Orion.
- 11 lb payload capacity — plenty for a DSLR/mirrorless body with lenses up to telephoto range
- Built-in illuminated polar scope for fast, accurate polar alignment
- Full smartphone control via Wi-Fi using the free SynScan Pro app
- Multiple tracking rates: sidereal, solar, and lunar
Star Adventurer GTi Mount Kit

The complete package — GTi mount head, counterweights, tripod, and pier extension. The recommended starting point if you don't already own a compatible tripod.
Star Adventurer GTi Head Kit

Just the GTi mount head and counterweights — ideal if you already have a sturdy photo tripod with a 3/8" mount and want to add GoTo tracking to it.
2. Star Tracking System — Star Adventurer 2i
The Star Adventurer 2i Pro Pack is the lightweight, no-frills star tracker that started it all for portable astrophotography. It doesn't have GoTo, but for wide-field nightscapes and Milky Way panoramas — the bread and butter of landscape-to-astro transitions — it's everything you need: point it at the pole, align it, and start tracking.
- Compact and lightweight — easily packed alongside your existing camera gear
- Wi-Fi control via the Star Adventurer Console app
- Multiple tracking speeds, including 0.5x for time-lapse star/foreground blends
- Excellent entry point for wide and mid-range focal lengths (14mm–135mm)
Star Adventurer 2i Pro Pack (with Wi-Fi)

Includes the 2i mount head plus the accessories most photographers need to get started right away.
3. Accessories
These accessories round out either system — whether you're setting up your first tripod-based tracker or expanding the GTi into a more capable imaging platform.
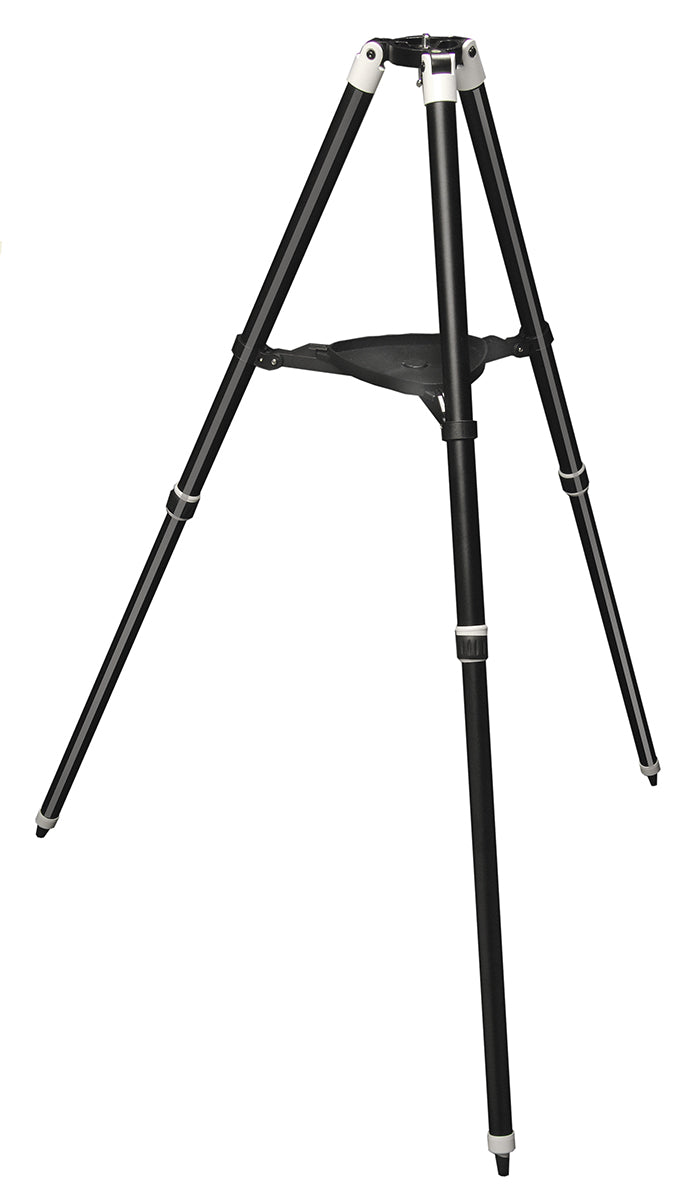
Sky-Watcher Star Adventurer Tripod

The matched tripod for either the 2i or GTi head — sturdy, lightweight, and field-ready.
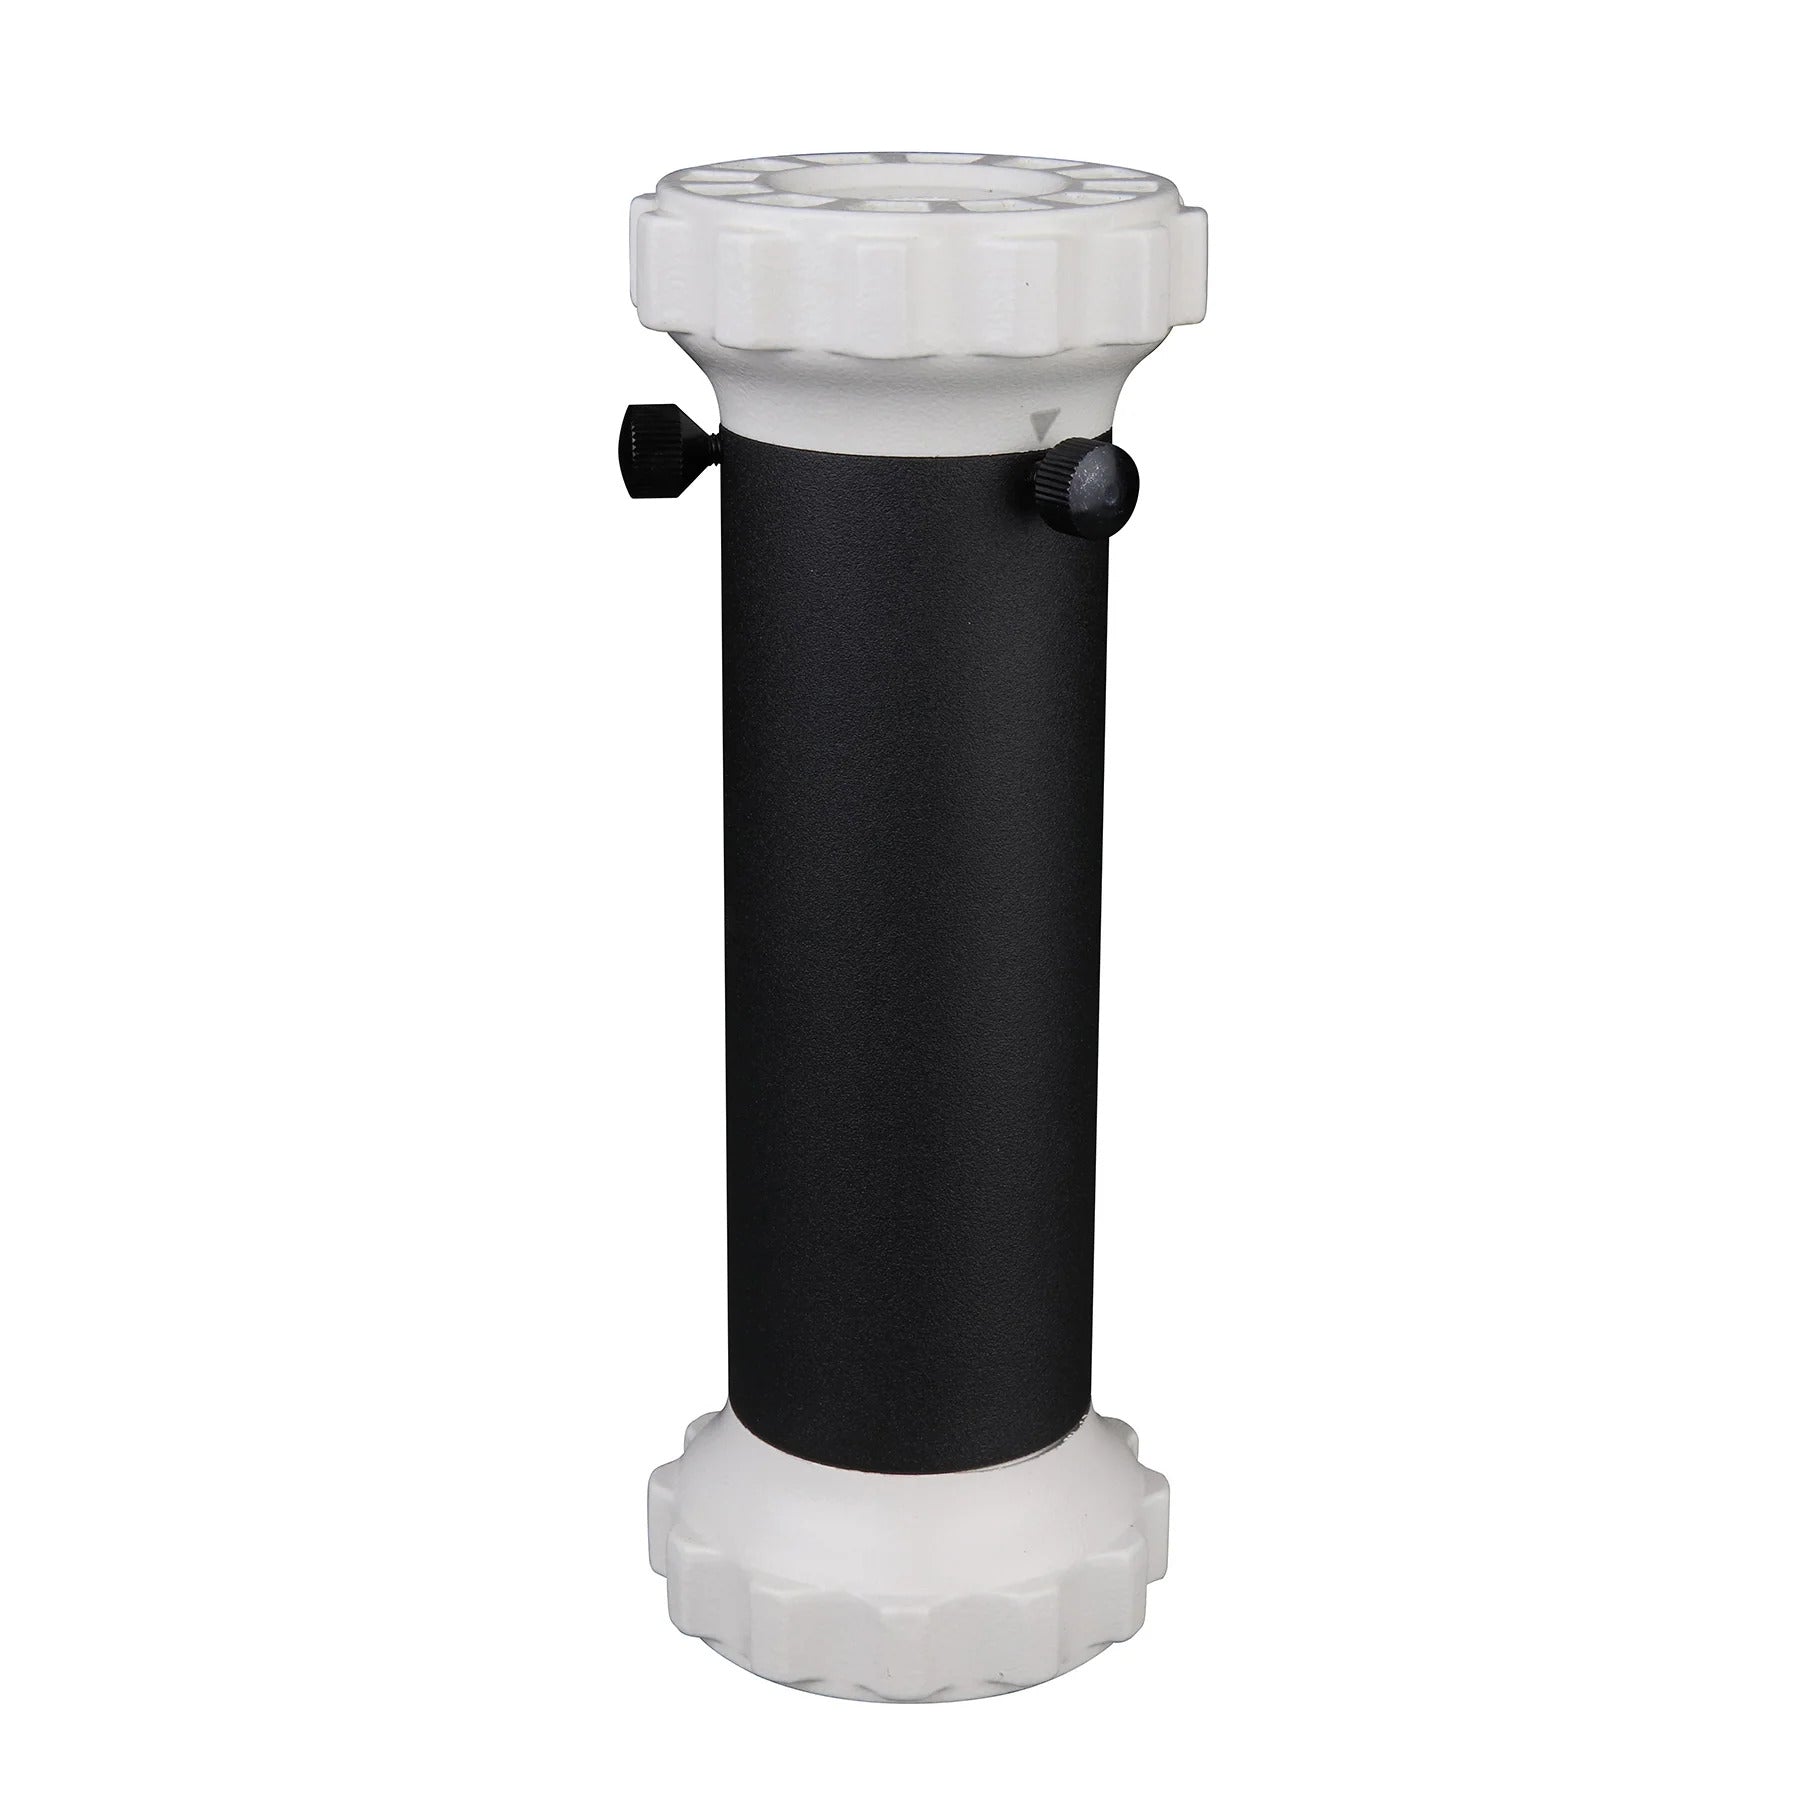
Star Adventurer Tripod Extension (Pier Extension)

Raises the mount head higher for better balance and easier eyepiece/camera access, especially with longer lenses.
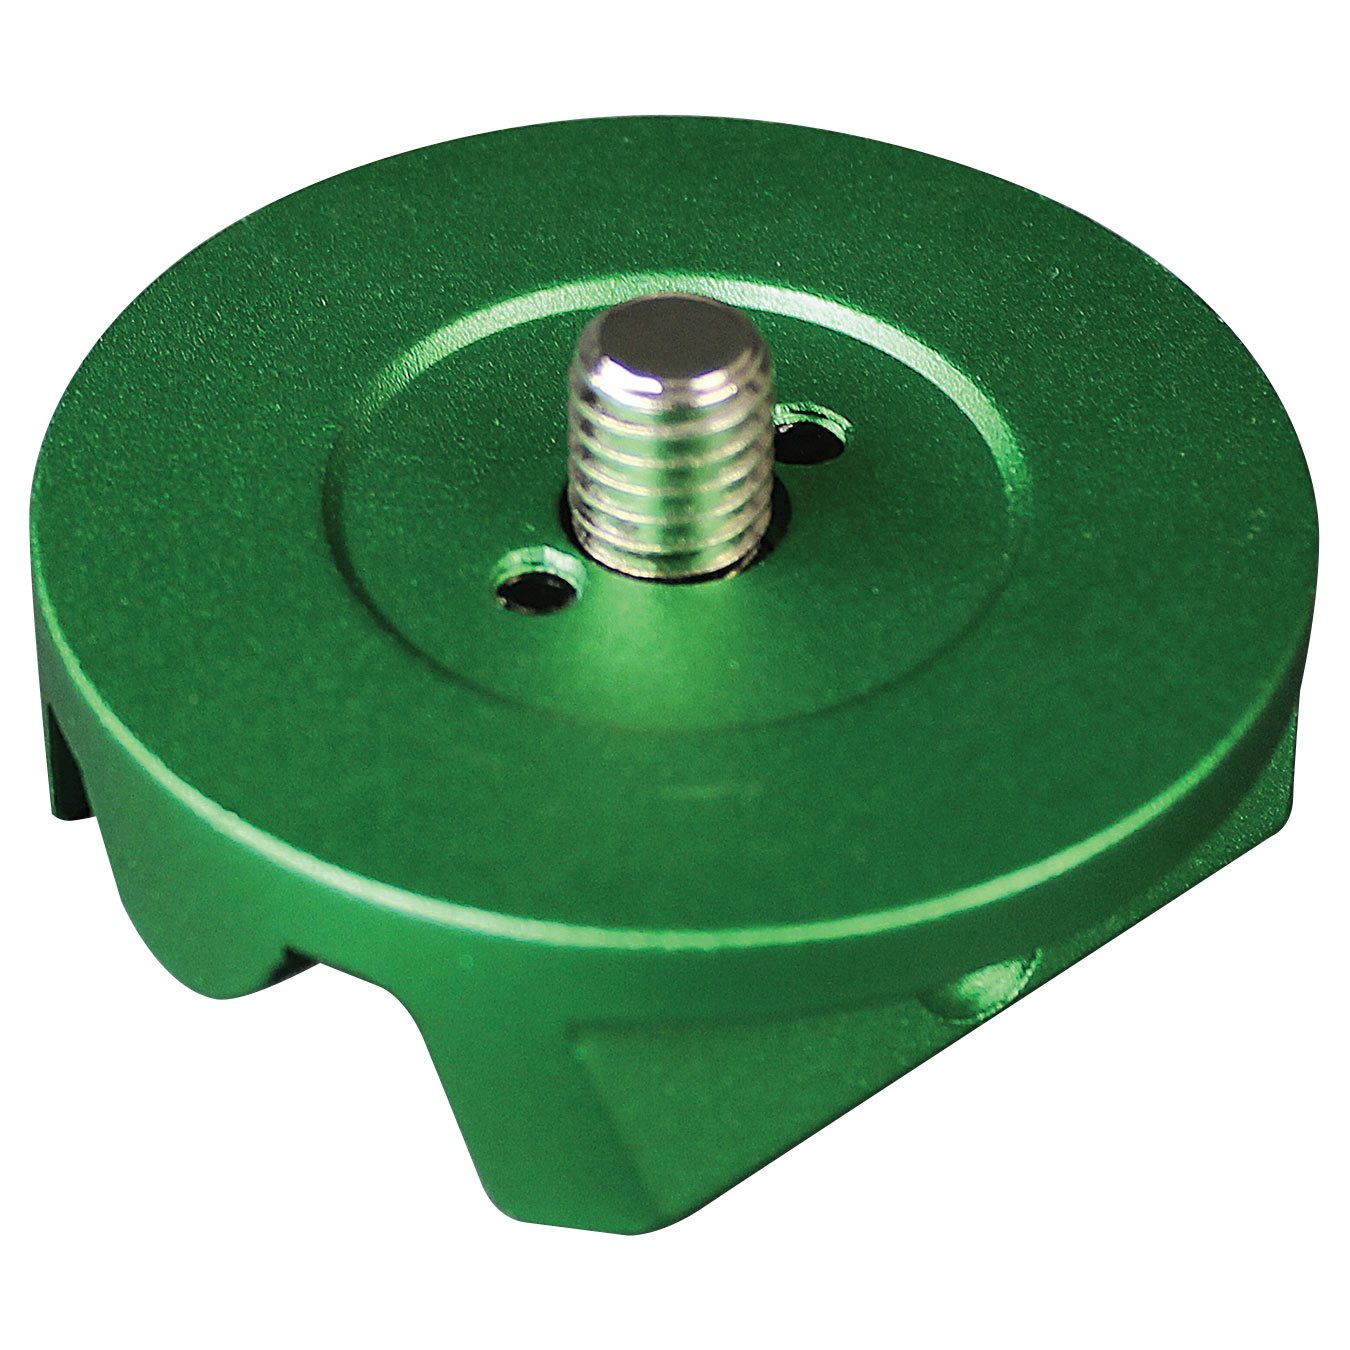
Star Adventurer Latitude EQ Base

Makes polar alignment faster and more precise by giving you fine altitude and azimuth adjustment — especially helpful for photographers shooting from different latitudes on the road.
Star Adventurer DEC Bracket

Adds a declination axis to your tracker, letting you fine-tune framing on your target after polar alignment — useful when moving from wide nightscapes into tighter telephoto framing.
Star Adventurer Counterweight Kit

Balances heavier camera and lens combinations (especially telephoto setups) for smoother, more accurate tracking.
Star Adventurer Ball Head Adapter

Lets you attach your existing ball head to the tracker, so you can frame shots the same way you would on a normal tripod — just with tracking underneath.
Quick-Start Tutorial: Your First Tracked Nightscape
- Set up on stable, level ground. Extend your tripod legs evenly and use the bubble level if your tripod has one.
- Roughly point the mount's polar axis north (or south, in the Southern Hemisphere) and tilt it to match your latitude.
- Polar align using the built-in polar scope. Locate Polaris (or your hemisphere's pole star) in the polar scope and place it in the correct position relative to the reticle — the SynScan Pro or Star Adventurer Console app can help with this.
- Mount your camera via the ball head adapter (or directly, for the GTi with a dovetail).
- Balance the load — especially important with telephoto lenses. Add counterweights if needed.
- Start tracking at the sidereal rate and frame your shot.
- Take a test exposure (30–60 seconds) and check for trailing at full zoom on your camera's LCD. Adjust alignment if needed.
- Shoot your sequence — for nightscapes, many photographers blend a tracked sky exposure with a separate untracked foreground exposure in post-processing.
FAQ
Do I need a GoTo mount to shoot the Milky Way?
No. The Star Adventurer 2i is more than capable for wide and moderate focal lengths. GoTo (GTi) becomes more valuable once you start targeting specific deep-sky objects or shooting at longer focal lengths where precise framing matters.
Will my existing lenses work?
Yes — these mounts carry your existing camera body and lens. There's no need for specialized astro lenses, though fast, wide-aperture lenses (f/1.4–f/2.8) will let you use shorter exposures and lower ISOs.
How long can my exposures be once tracked?
With accurate polar alignment, exposures of 1–5 minutes (depending on focal length) are achievable before tracking error becomes visible. Wider focal lengths are more forgiving of small alignment errors.
Do I need to guide (autoguide) for nightscape and Milky Way work?
Generally no. Autoguiding is more relevant for longer focal-length deep-sky imaging. For nightscapes and wide-field Milky Way shots, a good polar alignment alone is sufficient.
Can I use this for time-lapses too?
Yes — both the 2i and GTi support slower tracking rates (such as 0.5x sidereal), which are popular for star/foreground time-lapse blends.
What's the difference between the Mount Kit and the Head Kit (GTi)?
The Mount Kit includes a tripod and pier extension. The Head Kit is just the mount head — choose this if you already have a compatible tripod with a 3/8" mount.